Pit Composting
First composting method, we discuss is Pit Composting.
Traditionally that is how composting was practiced. There used to be a pit in the backyards and all the kitchen waste, leftover foods and dry leaves were deposited in that pit.
Composting used to happen at its pace.
As we discussed in the section “compost”, soil contains a variety of microbes. In the pit, there is constant contact with the soil. Hence this method does not require much inputs from us. Soil takes care of most of the things.
What you need
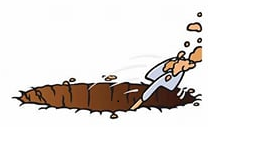
- A pit to be dug
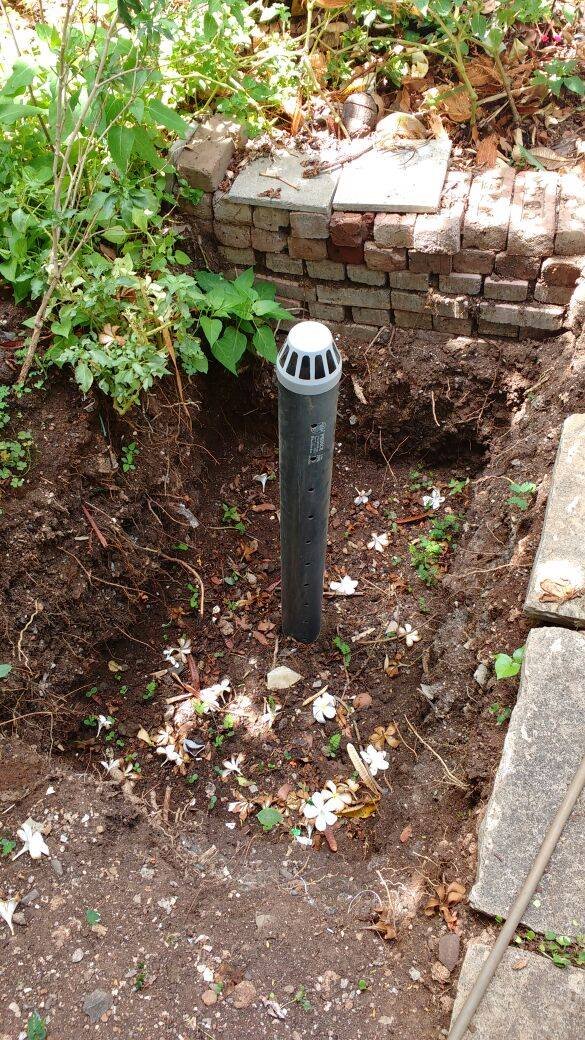
- A PVC pipe with holes drilled in it with height 1 and half feet more than depth of pit
- A culture (Soil/ Cow dung/ Compost/ Microbe Mixture)
How to go about it?
Dig a pit. Select a spot which is near water tap or any water source.
Ensure, there is no risk of anybody falling in the pit by mistake. Safety first.
How big the pit should be?
There is no fixed size. Decide the size as per quantity of leaves you have.
Remember ATM of composting?
Let us discuss aeration. When you start depositing dry leaves, due to pressure of upper layers, the bottom most layers will not receive much aeration.
To ensure aeration, we would need the following.
Erect PVC pipe in the centre of the pit. Ensure it is atleast 6 inches deep in the soil, to avoid it toppling.
All set?
Now
Deposit dry leaves
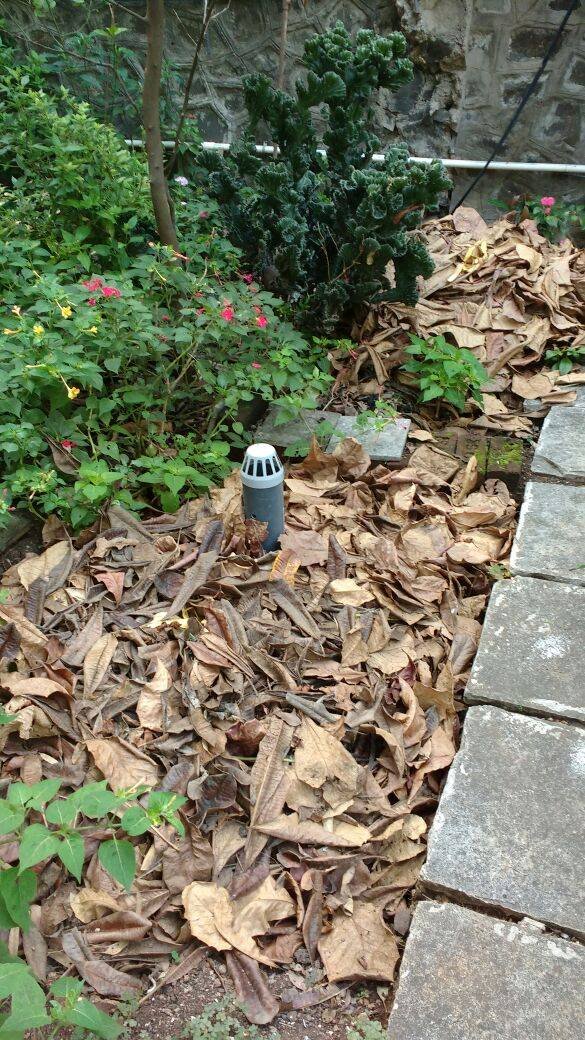
Add culture. For one gunny bag of dry leaves, apply a handful of culture.
Sprinkle water on it so that culture dissolves in the water and percolates in the layers.
Remember, add water only to provide moisture. Leaves should be moist, not wet.
Continue this process. And that is all.
Here is the process at a glance.
- Deposit dry leaves daily
- Water the pit daily
- Provide culture once a week
When compost will be ready?
Compost will be ready within 3 and half months. The bottom most layer is the oldest. So that is the layer that will decompose first.
Ready compost looks dark in color, it is crumbly.
Harvesting the compost
Remember to wear gloves. Twigs in the compost can hurt your hand. And since compost is buzzing with micro-organisms, it is better to take precaution.
Take out the ready compost and use for the garden. If you want your compost to look like the market bought compost, then sieve the compost. This is not necessary step.
When we collect dry leaves, some sticks and small twigs also enter the compost. That is fine. Let them remain in the compost.
They are very slow to decompose. When leaves are decomposed, those twigs will remain as it is. Let them be part of the compost. When you use the compost in the garden, these sticks will gradually decompose and keep providing nutrients to the plant. Also, they create air pockets in the compost and provide aeration to the compost and later to the roots.
Happy Composting!!
It is quite low-maintenance method.
Even if water is in excess, soil will absorb it.
In heavy rains, the pit might fill with water. But don’t worry, water will soon recede when rains stop, and no damage will be done.
If somebody else other than you is going to look after the compost every day, then I suggest you download the following poster and display it near the compost pit. It will make job of caretaker easy.
Same poster and some more downloads are provided in the “Downloads” section.
How to download?
Right click on the poster and select “save image as”.