Here is the 3rd method, enclosure composting.
Pit and pile are very cost-effective methods. They need minimum efforts.
But often, people feel the pit and pile do not look neat.
Sometimes, when people spend something on the project, only then they take it seriously. You will have such strange interactions. It is funny how a human mind works.
I suggest do not waste energy in convincing them otherwise. For us, getting first successful compost is what matters the most.
Go for enclosure composting. It looks neat, it looks like some project is going on and you can make it as attractive as possible.
I will show you 4 methods of building a composter. All are tried and tested methods.
Adopt the design convenient for you.
Remember ATM of composting?
We are taking care of A, i.e. aeration in the design itself. All composters I would be showing you are porous in nature. So, there is a lot of aeration automatically.
Also, in this design, water logging is prevented. Even if by mistake, excess water is applied, it will drain out from the mesh.
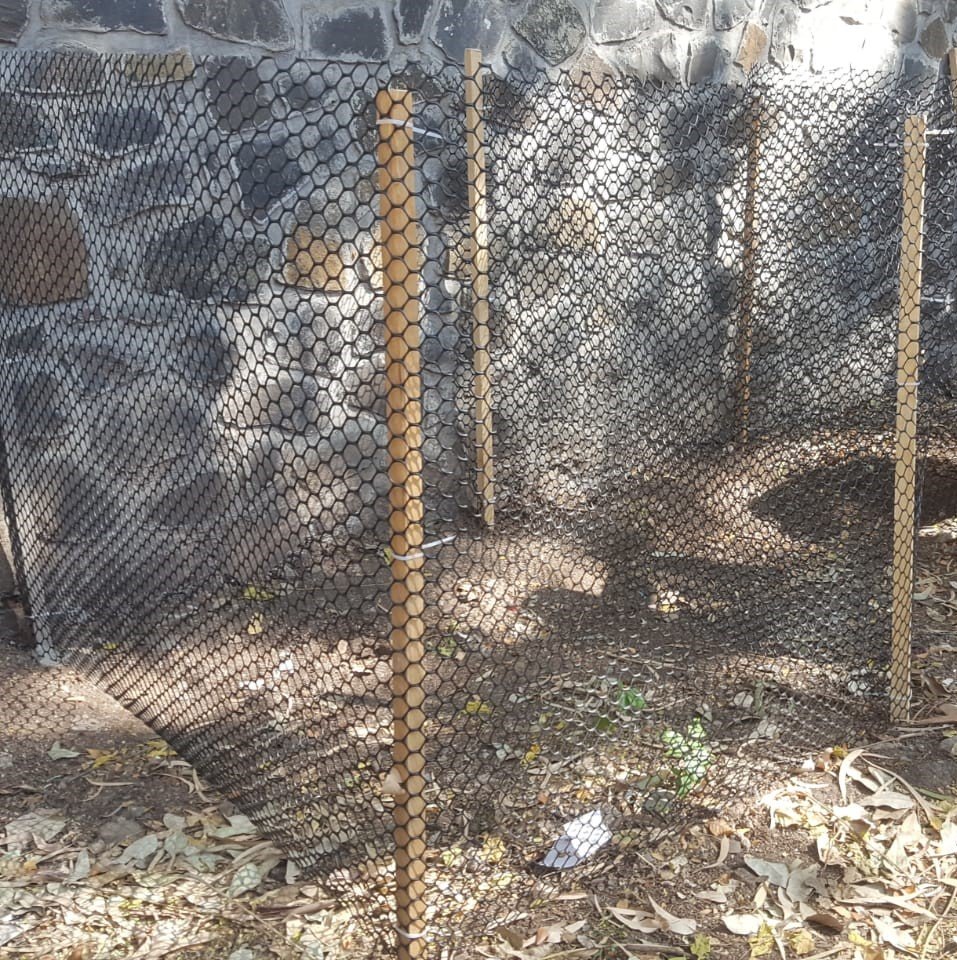
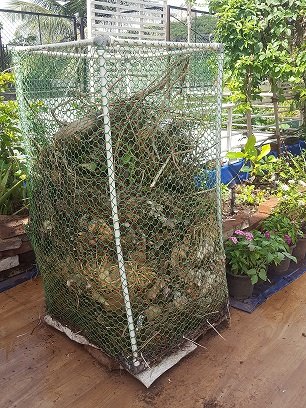
Composter 1
Materials needed
|
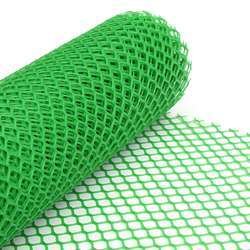
Pigeon mesh (Available in any hardware store. UV-treated, can withstand sun and rains) |
|
|
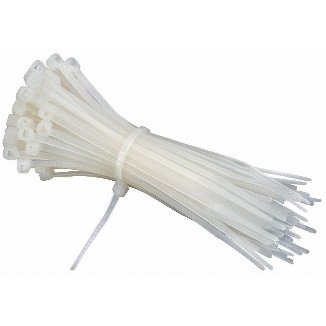
Zip ties (Available in any hardware store) |
|


Time to build: 10 Minutes
Installation: 15 Minutes
Method:
- Buy 8 feet x 3 feet pigeon mesh (Usually Rs. 6 sq. feet)
- Buy a pack of zip ties (Usually comes in pack of 30)
- Roll the pigeon mesh, with some overlapping.
- Secure with zip ties so that pigeon mesh remains in cylindrical shape
- With 8 feet length of pigeon mesh, you will get a cylinder with approximate radius of 2.5 to 3 feet
- Place the cylinder under the tree which leaves you would be composting
- Dig out area around it, place the cylinder and then press the dug soil, to provide stability to the cylinder. If it is not stable, it will bend/ topple with the weight of the leaves.

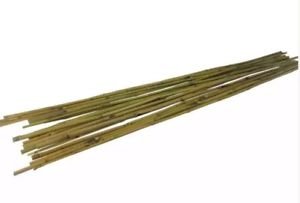
- Bamboo sticks/ old curtain rods can also be used. Just erect 3 such rods and place the cylinder around it.

Composter 2
Materials needed
|
Pigeon mesh (Available in any hardware store. UV-treated, can withstand sun and rains) |
|
|
Zip ties (Available in any hardware store) |
|
|
Cut bamboo/ old curtain rods |
|

Time to build: 10 Minutes
Installation: 15 Minutes
Method:
- Select convenient place for composting, one with not too much sun and near a source of water, like tap/ water tank.
- Buy 9 feet x 3 feet pigeon mesh (Usually Rs. 6 sq. feet)
- Buy a pack of zip ties (Usually comes in pack of 30)
- Erect the bamboo sticks. Make sure, at least 6 inches of the stick is dug in the ground, as weight of leaves increases, structure will need strength.
- Wrap the mesh around each bamboo stick.
- Secure mesh to the bamboo stick with zip ties.
- You will get a rectangular composter having each side, with height- 3ft, width – 2ft.
- Make 2 slits towards bottom of one of the sides.

- For the time being, tie these slits with strings.
- When compost is to be removed, untie these strings, open the flap.
That’s all. It is done.
Now it is time to start composting.
- Deposit leaves in the composter ever day or as they fall.

- Add handful of culture once a week. (Culture can be soil/ cow dung, compost borrowed from a friend)
- Water this composter every day as you would water your plants. Just enough water so that leaves are moist, but not wet.
- Beauty of this composter is that even if you water more by mistake, excess water will drain. It is a bottomless composter in contact with soil below.
- We will also get all the help from the soil insects and microbes.
- After around 2 months, you will find, compost will be ready in the lowest layers.
- Untie the strings, open the flap and remove the ready compost.
- Continue depositing leaves form the top, and take out ready compost from the bottom.
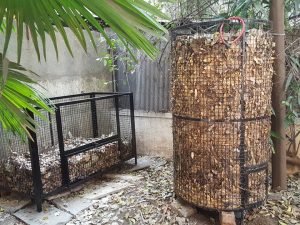
Composter 3
Both the composters we discussed earlier, were bottom-less composters and hence, non-portable. They are perfect when you wish to set them up on the soil.
What about terrace? Or what if in some case, you need to move the composter?
Yes, today’s composter is portable.
Difficulty level and cost is slightly higher than the first two. A 3 ft tall composter with each side 2ft, would cost you around Rs. 1200 compared to around Rs. 400 for the former.
Materials needed
|
Pigeon mesh (Available in any hardware store. UV-treated, can withstand sun and rains) |
|
|
Zip ties (Available in any hardware store) |
|
|
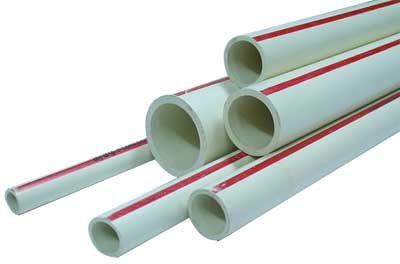
PVC pipes |
|
|
Joints |
|


Time to build: 2 hours
Method:
- Select convenient place for composting, one with not too much sun and near a source of water, like tap/ water tank.
- Buy 9 feet x 3 feet pigeon mesh (Usually Rs. 6 sq. feet)
- Buy a pack of zip ties (Usually comes in pack of 30)
- Create the skeleton for the composter using PVC pipes, joints and zip ties.
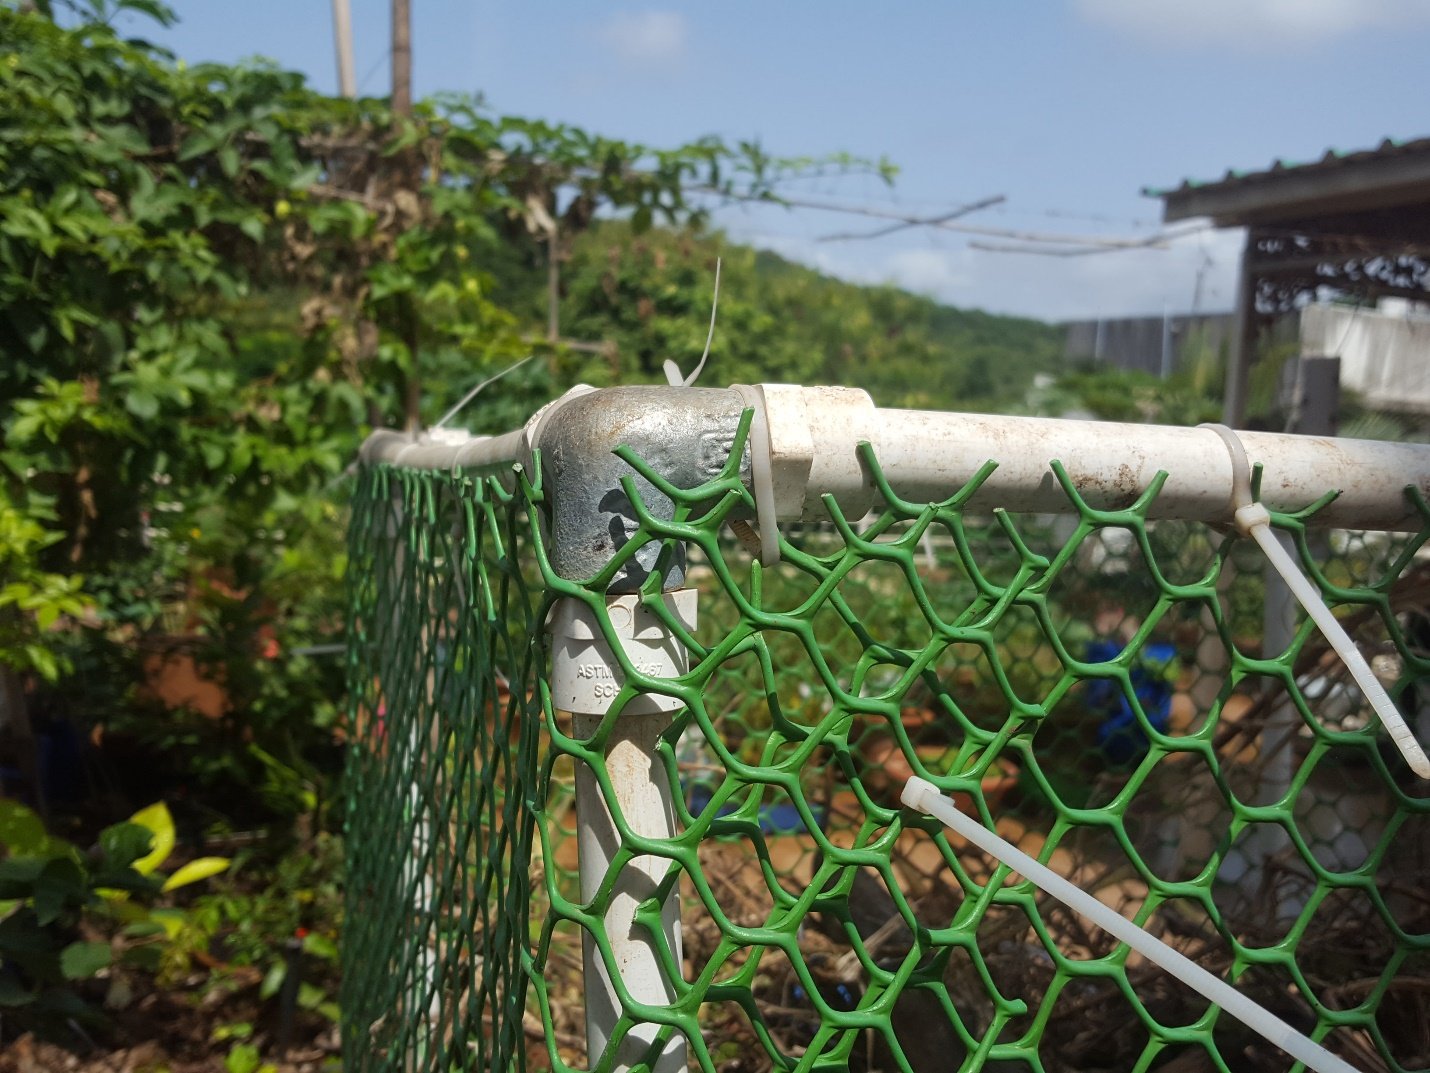
- Wrap the mesh around the pipes.
- Secure mesh to the pipes with zip ties.
- You will get a rectangular composter having each side, with height- 3ft, width – 2ft.
- Make 2 slits towards bottom of one of the sides.
- For the time being, tie these slits with strings.
- When compost is to be removed, untie these strings, open the flap.
That’s all. It is done.
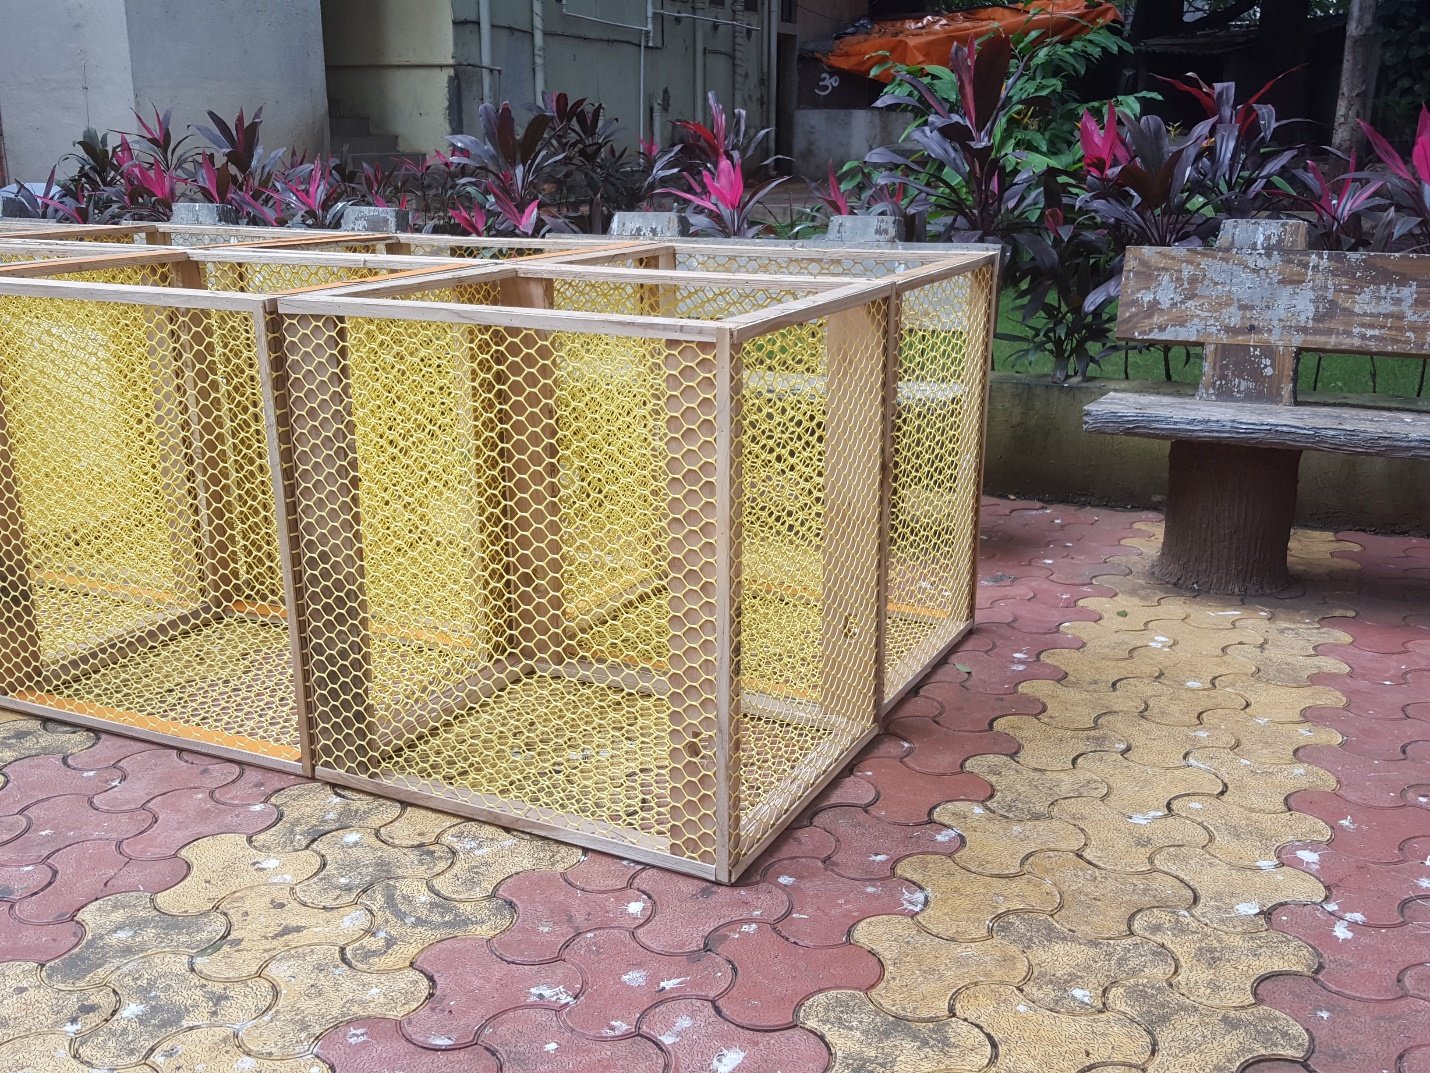
Alternately, if you have any plywood strips left over from the recent carpentry work at home or at friend’s place, then you can utilize the same.
Here is the glimpse of the composter made using left-over plywood strips at Mahatma Phule Institute at Pune.
All these 3 composters are cost-effective. For first 2 composters, once done, you can simply roll and store away the pigeon mesh.
There are a few more options. You can build a metal mesh composter. Any local fabricator can build it for you. As in composter 2, you can create a door to harvest the ready compost.
All set?
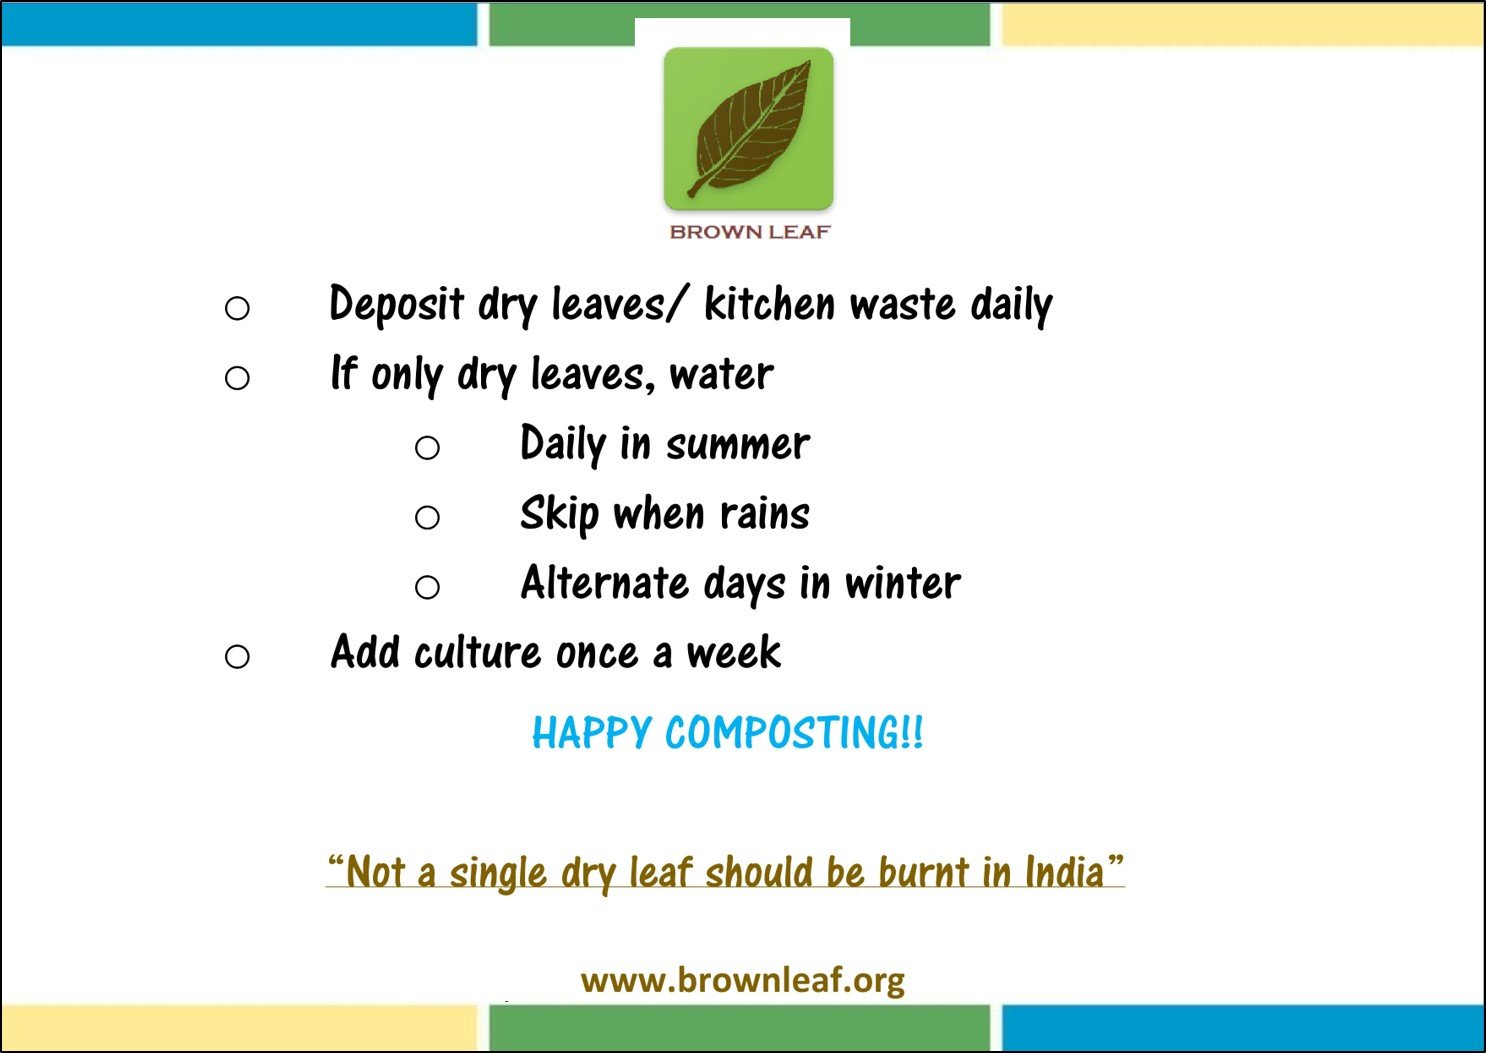
Now, Deposit dry leaves
Add culture. For one gunny bag of dry leaves, apply a handful of culture.
Sprinkle water on it so that culture dissolves in the water and percolates in the layers.
Remember, add water only to provide moisture. Leaves should be moist, not wet.
Continue this process. And that is all.
Here is the process at a glance.
- Deposit dry leaves daily
- Water the pit daily
- Provide culture once a week
When compost will be ready?
Compost will be ready within 3 and half months. The bottom most layer is the oldest. So that is the layer that will decompose first.
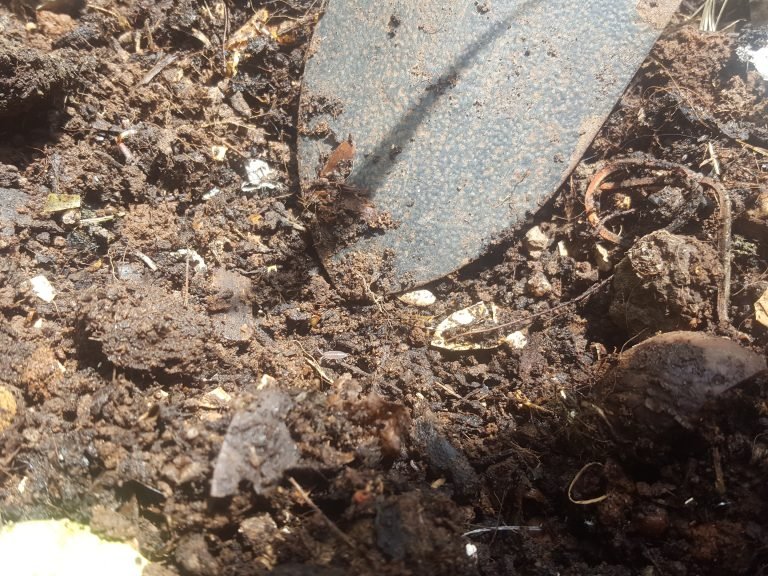
Ready compost looks dark in color, it is crumbly.
Harvesting the compost
Remember to wear gloves. Twigs in the compost can hurt your hand. And since compost is buzzing with micro-organisms, it is better to take precaution.
For harvesting, remember compost is ready in the bottom most layer. Simply shift the upper layer of the pile in the area we have left between the piles. Now bottom most layer is exposed.
Collect the ready compost and use for the garden. If you want your compost to look like the market bought compost, then sieve the compost. This is not necessary step.
When we collect dry leaves, some sticks and small twigs also enter the compost. That is fine. Let them remain in the compost.
They are very slow to decompose. When leaves are decomposed, those twigs will remain as it is. Let them be part of the compost. When you use the compost in the garden, these sticks will gradually decompose and keep providing nutrients to the plant. Also, they create air pockets in the compost and provide aeration to the compost and later to the roots.
Happy Composting!!
It is very low-maintenance method.
Even if water is in excess, soil will absorb it.
If somebody else other than you is going to look after the compost every day, then I suggest you download the following poster and display it near the compost pit. It will make job of caretaker easy.
Same poster and some more downloads are provided in the “Downloads” section.
How to download?
Right click on the poster and select “save image as”.