How to build a dry leaf composter, part 3
Method contributed by Kirti Bhave, Pune.
Introduction part is a continuation of the two past weeks’ blogs. If you have already read them, if you are already convinced that you should go for composting, then feel free to skip this part. Directly go to “Let’s build the composter” part.
If you haven’t read last week’s blog, and want me to convince you into composting, to read on 😊
First, let me convince you why you should compost dry leaves in your premises.
Because it is the right thing to do.
Because it completes the nature’s cycle and follows soil-to-soil principle.
Because composting and not burning leaves, reduces air pollution.
Because soil that has lost nutrients, gets nutrients back.
And quite soon, it would be mandatory.
YES!! Recently, chief minister of Maharashtra, Mr. Devendra Fadanvis, announced that there is no space left in Maharashtra for any more garbage dump yards. Condition would not be very different in other states.
Let’s understand journey of a leaf in a city
Some municipal corporations currently do collect leaves from the citizens. 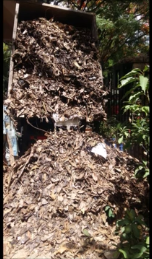
Some proportion of it is composted at the garbage depot, in some cities. Yet this quantity is negligible compared to the total quantity of dry leaves in the city.
What happens to the rest?
Well, those leaves are sent to dump yards, usually to the villages on the outskirts of the city.
Yes, I can read your mind. Right, leaves are biodegradable. So, what happens if they are sent to dump-yards? They will decompose there, anyway. What is all this fuss about composting.
You are right. Let’s discuss what exactly is wrong with this system.
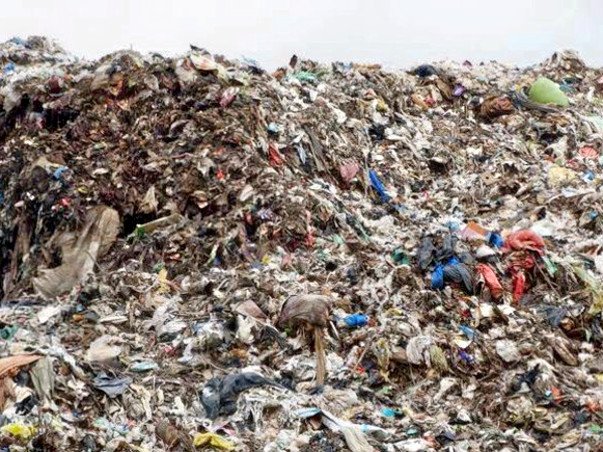
Leaves along with waste like kitchen waste, plastic, paper, glass, just about everything is dumped together at the dump-yards.
Heaps and heaps of garbage is deposited every day.
Only biodegradable components from that waste would decompose. Decomposing process when happens in presence of enough oxygen, it produces Carbon dioxide.
When same process happens in absence of oxygen, it is called anaerobic. In simple terms, material does not decompose, but rots. Output of that process is methane gas. Methane is worse than carbon dioxide when it comes to its contribution to global warming. Its global warming potential is believed to be 21 times more than that of Carbon dioxide.
Methane also has a foul smell. (Keep kitchen waste in a plastic bag and tie its mouth. After a week, untie and check. The horrible rotting smell that emanates is the methane gas.)
Imagine, such a large quantity of organic waste decomposing and giving out methane. Consider, what are we doing to our neighbors in these villages, by dumping all our waste in their yard?
AND THAT IS NOT ALL.
Methane is highly inflammable. Did you read about the dump-yards catching fire? Such fires occurred at Deonar near Mumbai in 2016 and 2018, and at Ghazipur in east Delhi in 2017. When methane from rotting organic matter in landfills comes in contact with air, such fires occur. It took almost a week for fire brigade to extinguish fire at Deonar. Imagine the smoke, the pollution and risk to the nearby residents.
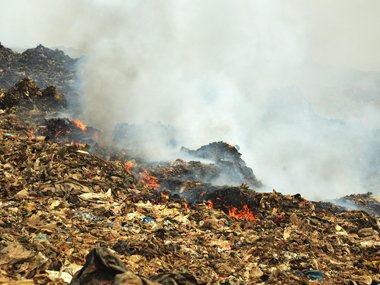
Deonar fire
Air pollution and fire hazard are the two dangers of sending organic waste to the dump-yards.
There is one more flip-side.
Tree roots absorb various nutrients from the soil. Some proportion of those nutrients is present in the fallen leaves. When we throw away the leaves, nutrients that are taken from the soil, are never returned to it.
Every year, that soil in your backyard is losing nutrients.
So, sending away dry leaves creates fire and health hazard, it causes air pollution and it deprives our soils of nutrients.
It is LOSE -LOSE – LOSE situation all along.
These are the reasons why we should not send dry leaves to dump-yards. Same argument exists for other organic waste i.e. kitchen waste. We will discuss that as well in subsequent blogs.
And referring to the statement by Maharashtra chief minister, we are running out of spaces for dump-yards.
Pretty soon, there will not be any space left to deposit our daily waste.
What happens when that day dawns?
Well, municipalities across the country will make it mandatory for citizens to compost the biodegradables.
So, we either start now or it would be forced on us in near future, anyway.
What say?
Same fire and health hazard and loss of nutrients challenge exist when leaves are burnt.
Leaf piles when smothered, give out carbon monoxide. Carbon monoxide’s global warming potential is more than that of Carbon dioxide. It is extremely hazardous to our health.
Have I convinced you enough against leaf burning or sending leaves to dump-yards? I do hope so 😊
Yes, I agree we cannot have heaps and heaps of leaves in our backyards and on our streets. Let’s discuss what we should do with the leaves.
Strategy is
MULCH – COMPOST – DONATE
Let’s build the composter
In next few blogs we will discuss various methods of composting in detail, and pros and cons of each method.
Last 2 weeks we saw how to build easy, cost-effective composter.
https://brownleaf.org/lets-compost-part-1/
https://brownleaf.org/lets-compost-part-2/
Today we will discuss method to build yet another composter. How is it different from the first two?
Both the composters we discussed earlier, were bottom-less composters and hence, non-portable. They are perfect when you wish to set them up on the soil.
What about terrace? Or what if in some case, you need to move the composter?
Yes, today’s composter is portable.
Difficulty level and cost is slightly higher than the first two. A 3 ft tall composter with each side 2ft, would cost you around Rs. 1200 compared to around Rs. 400 for the former.
Materials needed
| Pigeon mesh
(Available in any hardware store. UV-treated, can withstand sun and rains) |
 |
| Zip ties
(Available in any hardware store) |
 |
| PVC pipes | 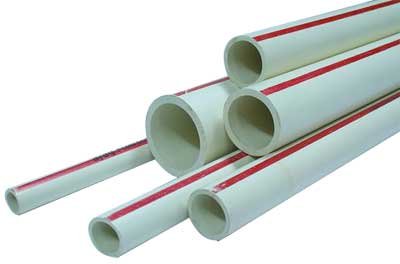 |
| Joints | 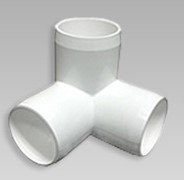  |
NOTE: Pigeon mesh, zip ties, pipes are available in any hardware store. It is not that easy to find Elbow joints though. If you are in Pune, bohori ali would be the place.
Time to build: 2 hours
Method:
- Select convenient place for composting, one with not too much sun and near a source of water, like tap/ water tank.
- Buy 9 feet x 3 feet pigeon mesh (Usually Rs. 6 sq. feet)
- Buy a pack of zip ties (Usually comes in pack of 30)
- Create the skeleton for the composter using PVC pipes, joints and zip ties.

- Image Courtesy: Kirti Bhave, Pune
- Wrap the mesh around the pipes.
- Secure mesh to the pipes with zip ties.
- You will get a rectangular composter having each side, with height- 3ft, width – 2ft.
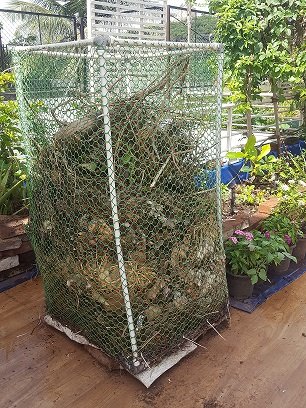 Image Courtesy: Kirti Bhave, Pune
- Make 2 slits towards bottom of one of the sides.
- For the time being, tie these slits with strings.
- When compost is to be removed, untie these strings, open the flap.
That’s all. It is done.
Alternately, if you have any plywood strips left over from the recent carpentry work at home or at friend’s place, then you can utilize the same.
Here is the glimpse of the composter made using left-over playwood strips at Mahatma Phule Institute at Pune.
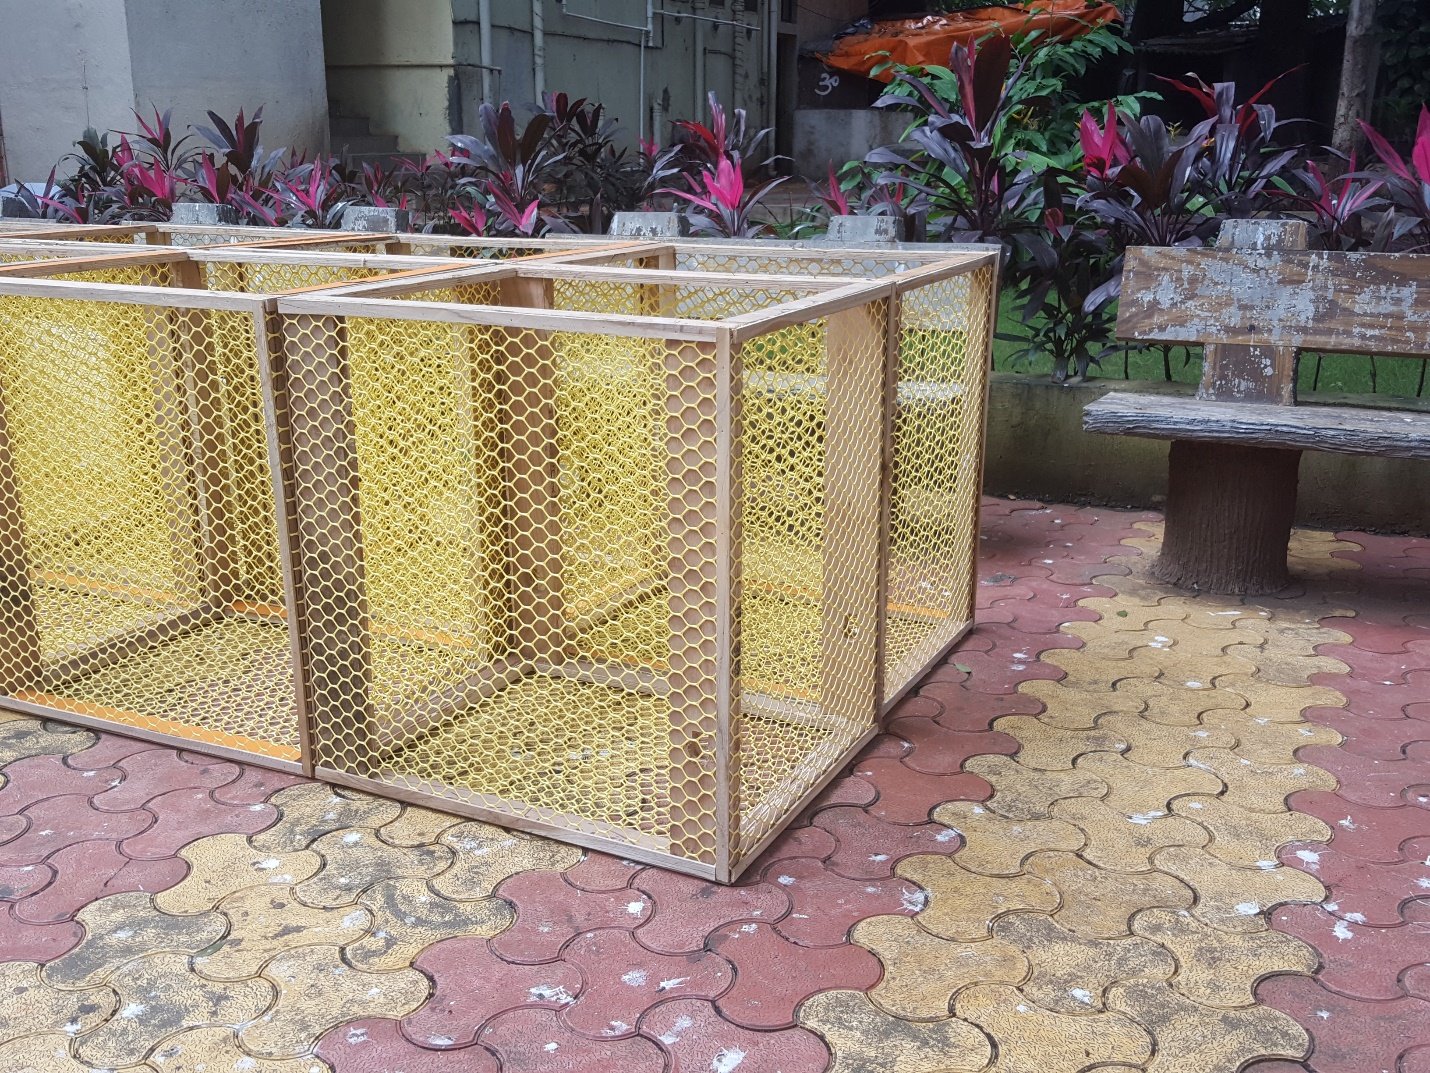 Image Courtesy: Mr. Rajeev Vilekar, Mahatma Phule Museum, Pune
Now it is time to start composting.
- Deposit leaves in the composter ever day or as they fall.
- Add handful of culture once a week. (Culture can be soil/ cow dung, compost borrowed from a friend)
- Water this composter every day as you would water your plants. Just enough water so that leaves are moist, but not wet.
- Beauty of this composter is that even if you water more by mistake, excess water will drain. It is a bottomless composter in contact with soil below.
- We will also get all the help from the soil insects and microbes.
- After around 2 months, you will find, compost will be ready in the lowest layers.
- Untie the strings, open the flap and remove the ready compost.
- Continue depositing leaves form the top, and take out ready compost from the bottom.
That’s it.
Go ahead, do try it.
Here is the poster for you. Right Click on it, select save as and download. Take a color print out and display it proudly. Yes, you have earned it.
If you face any difficulty, if you have any problem, reach out to us at pune.brownleaf@gmail.com
It is our responsibility to give you first successful compost. Remember, we are just a click away 😊
All the Best!! HAPPY COMPOSTING!!


Very well explained Kirti👍 Thanks Aditi for making this process of composting available to everyone.